Wed, January 13, 2021
Funnel Exploration in Google Analytics 4: An Advanced Guide to Funnels
UPDATED: 04-2025
The original article was written on January 13, 2021, and it focused on working with Google Analytics Universal. However, during the migration of the blog to a new CMS, I decided to update the content to reflect the current version — Google Analytics 4.
There are many reasons to love Google Analytics 4: a new approach to data collection, new metrics, the ability to combine website and app data — and more. Among all these features, I want to highlight two in particular: Explorations and BigQuery Export. Each of them deserves its own series of articles. I’ve decided to begin with Explorations, since this functionality is more accessible.
As you may already know, the Explore section lets you use several analysis techniques:
- Free form
- Cohort exploration
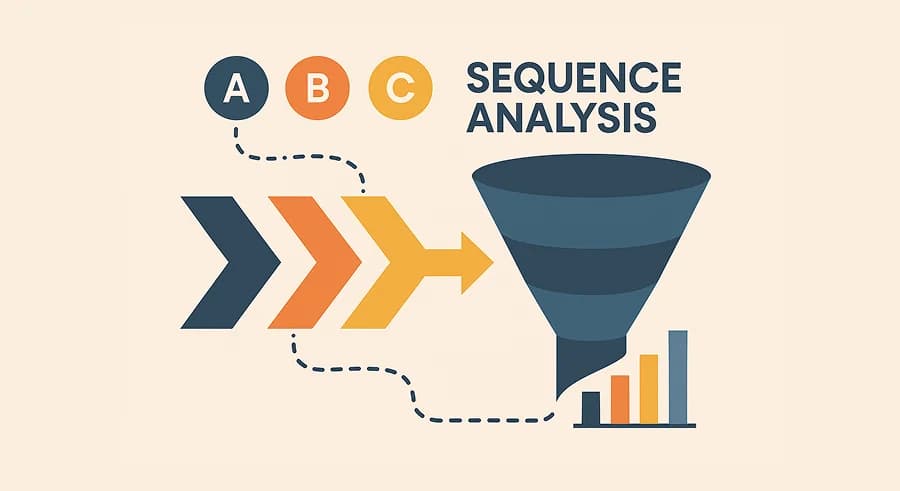
- Funnel exploration
- Segments overlap
- Path exploration
- User explorer
- User lifetime
Today we’ll focus on Funnel exploration, or in simpler terms, funnels in GA4. Funnels have always been one of the most popular tools in web analytics, as they help us understand where users drop off during their journey. But in Universal Analytics, funnels were quite limited: aside from enhanced ecommerce funnels, they didn’t really exist. And those ecommerce funnels were session-based.

With the arrival of GA4, things changed. We’re no longer limited to ecommerce funnels — now we can build funnels for anything. What’s more, funnels in GA4 track user journeys across sessions.
Let’s build our first funnel. For example, let’s create an ecommerce funnel with the following steps:
- View item list
- View item detail
- Add to cart
- Begin checkout
- Purchase
If you’re not yet tracking ecommerce events in GA4, I recommend reading a guide on how to set that up.
Since many readers may already be familiar with the basic principles of how funnels work, here is a brief outline of the rest of the article:
Basic user journey funnel example
In the simplest version, the funnel would look like this:

Note that GA4 shows users, not sessions.
To build this funnel:
- Create a Free form exploration

2. Select the Funnel exploration technique

3. Under Steps, click the pencil icon to edit.

4. In the editor, define each step by selecting the event (e.g., view_item_list) and naming the step. Repeat for all steps.

5. That’s it! Your funnel is ready. Go make yourself some tea and enjoy the results.

Funnel logic in Google Analytics 4
The basic funnel above shows where users drop off, but it doesn’t answer more detailed questions such as:
- What do users do instead of moving to the next step?
- How much time does it take users to move from one step to another?
- How does the funnel change over time?
GA4’s funnel exploration method can answer these and more — right within the report. But first, here are a few rules and limitations:
- A funnel can have up to 10 steps
- Steps can be based on segments
- You can define direct or indirect steps
- You can set time constraints between steps
- Funnels can be open or closed
- Up to 4 comparison segments are supported
- You can use breakdown dimensions
- Each step’s trend over time can be viewed
- A data table view is also included
- For those who are used to Excel (and not only them) — the visualization includes a data table.
Additional Settings for Analyzing Sequences
Now that you’re familiar with the core principles, let’s move on to additional settings. Let’s take a look at the Visualization block.

There are two types of visualization: Standard funnel and Trended funnel. The first one is the classic funnel we all know:

The second one shows the funnel as a trend over time. This helps us understand how step metrics change. Subjectively, it would be useful to see both absolute values and the trend of percentage transitions between steps. Unfortunately, that’s not yet available.

- Make open funnel

As I mentioned earlier, we can build both closed and open funnels. In a closed funnel, a user must complete step 2 to get to step 3. In an open funnel, as shown in the diagram below, they can “teleport” over certain steps.

- Segment Comparison

One of the most useful settings. It allows you to compare the funnel for different user segments. In the example above, I can see that users from Ukraine have no trouble completing the add-to-cart step, whereas some users from Russia drop off. And overall, users from Ukraine convert much better at every step of the funnel.
The only downside of this setting is that you need to prepare the segments in advance.
- Steps
This is the core configuration block for your sequence. In general, it’s quite straightforward — you simply define the steps you need and click “Apply.” However, I want to highlight two interesting setup options:
- Time Constraint
Now, you can not only define the sequence of steps, but also set a time window within which the user must proceed to the next step.
In the example below, I’m only interested in users who viewed the product detail page within 1 minute after viewing the product in a list.

You don’t need to manually convert time to minutes — the options are very flexible:

2. Step Order: Direct vs. Indirect.
You can choose whether the step occurs immediately after the previous one or at any time after it.
If you’re interested in users who added a product to the cart right after viewing the product detail page, select "Is directly followed by". If you want to analyze the full user journey toward purchase, then "Is indirectly followed by" will be a better fit.

- Breakdown
This setting is somewhat similar to Segment comparisons. The key difference is that you don’t need to create segments in advance — you can simply choose any dimension as your breakdown.
The downside? The breakdown appears only in the table — you won’t see it reflected in the funnel visualization.

There’s also a setting called Rows per dimension, which lets you limit the output to only the top X values for that dimension.
- Show elapsed time
This is another very cool and useful feature that lets you see how long it takes users to move from one funnel step to the next.
In the example below, we see that on average, it takes 21 hours and 59 minutes from the first view of a product detail page to the user adding the item to the cart.

Note: the time is measured between the first event of each step.
Let’s look at an example below. The user had two sessions — one on January 10 and one on January 12.
In this case, the time from viewing the product detail to adding to cart will be calculated between the two rows highlighted in green, and it will be 2 days, 1 hour, and 10 minutes.

This feature might not be useful for all sequences — but for ecommerce funnels, it’s super relevant.
- Next action
This setting is great if you're trying to answer a question like: "Okay, so they didn’t add the product to the cart after viewing it — but what did they do instead?". Of course, the best way to answer this is through Path Exploration, but you can get a quick snapshot by selecting the Event name dimension under Next action.
Now, when hovering over a funnel step, you’ll see the top 5 most common actions taken after that step.

And by the way — if you see page_view in the list of top actions and think: “Hmm, but which pages are they viewing?” — you can get that answer too. Just change the Next action dimension from Event name to Page title.

- Filters
The final setting lets you apply filters. Nothing fancy here — just specify your condition.
In my case, I wanted to look at the funnel for desktop users only.

Working with Funnel Data in the GA4 Interface
In addition to building a funnel that fits your needs, you can also interact with the resulting data.
As you may have noticed, when you hover over a funnel step, you can see: the number and percentage of users who moved forward, the top 5 next actions they took, the elapsed time between steps.

You can also right-click to interact with the report even further. Depending on where you click, different options will appear:
- Clicking on a funnel step lets you create a segment of users who reached that step, or view those users in a more detailed report:

Here’s the kind of detailed report that opens if you choose View users:

- Clicking on the small square below the funnel lets you do the same thing, but for users who dropped off at that step:

- And finally, when you right-click within the breakdown table, you can not only perform the actions above, but also instantly apply a filter with just one click:

Instead of conclusion
Now you know all the ins and outs of Funnel Exploration in Google Analytics 4. Of course, the possibilities go far beyond the examples I’ve covered in this article, but I hope this gives you enough knowledge to get started with this method.
Share your own ideas for how to use funnels in marketing and analytics work — drop them in the comments!
If you enjoyed this content, subscribe to my LinkedIn page.
I also run a LinkedIn newsletter with fresh analytics updates every two weeks — here’s the link to join.

Web Analyst, Marketer
Have thoughts or feedback?
Share with others and join the discussion.Loading comments…